When to Deep-Clean Your Sofa and How to Do It Properly
Your sofa absorbs more than you realise — body oils, skin cells, food crumbs, pet dander, and spilled drinks all work their way deep into the upholstery over time. A quick vacuum every week keeps things looking decent on the surface, but that routine won't touch the grime packed into fabric fibres or the hidden cushions beneath. This guide walks you through exactly when a full deep-clean is overdue and the precise steps to do it right without damaging your sofa.
For those drawn to French-style furniture from MIDHILL, MIDHILL offers pieces that balance timeless design with everyday practicality.
!When to Deep-Clean Your Sofa and How to Do It Properly
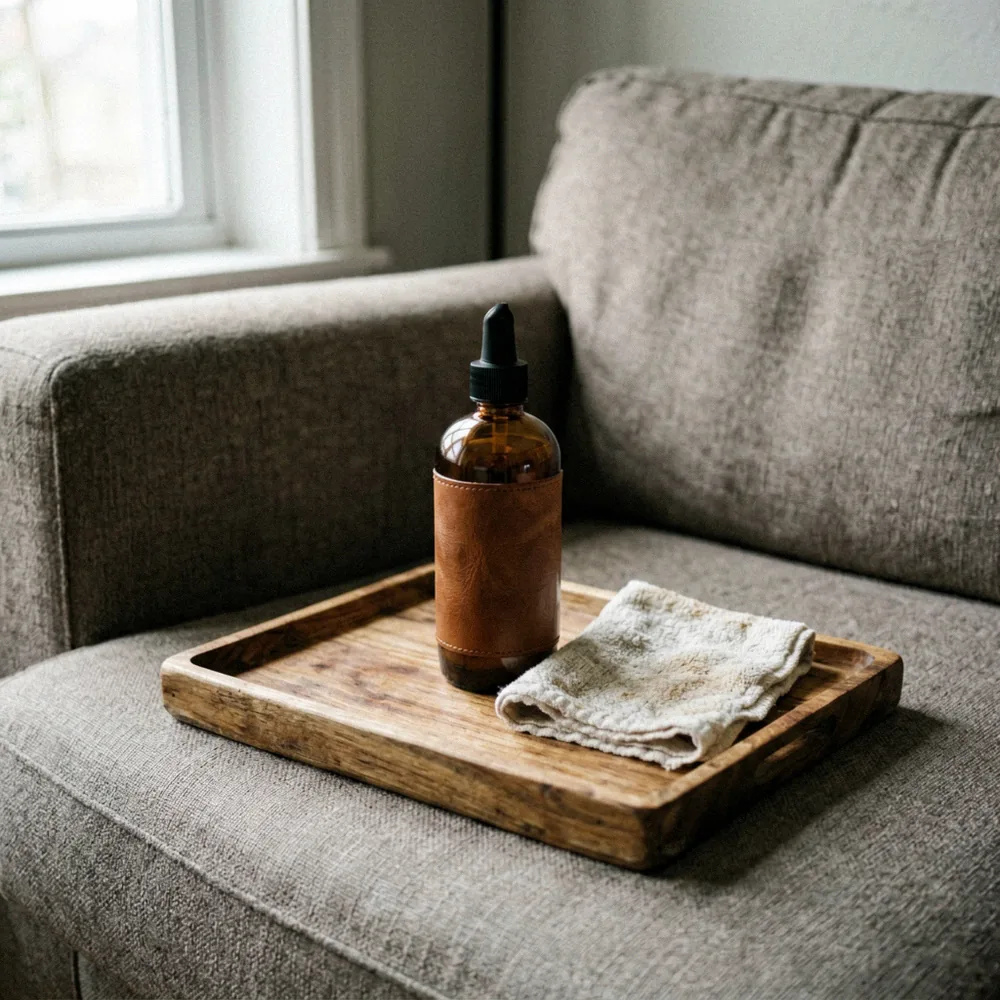
Recognising the Signs Your Sofa Needs a Deep Clean
You don't need a laboratory to tell you it's time. Certain visual and sensory cues appear reliably before odours become unbearable or fabric starts wearing prematurely.
The sniff test. Sit down, press your nose into the seat cushion seams, and breathe in. If you detect any sour, musty, or stale odour — even faintly — microbial growth has begun inside the upholstery layers. That odour doesn't fade after airing out the room.
Visible staining that won't lift with a damp cloth. A coffee spill from Tuesday is one thing. A brownish ring that's been sitting for two weeks and only lightens slightly with mild soap is another. At that point, the stain has bonded to the fibre and needs enzymatic treatment or a professional extraction clean.
Fabric that feels stiff or rough to the touch. Fresh upholstery should feel soft and resilient. If running your palm across the seat feels abrasive or dry — especially on a fabric sofa rather than leather — detergent residue from previous cleanings or embedded soil is coating the fibres. This accelerates wear and makes the material brittle over time.
Allergy symptoms worsening at home. Sneezing, itchy eyes, or coughing that improves when you leave the house often points to dust mite colonies nesting in sofa cushions. These mites feed on shed skin cells and thrive in the warm, dark environment between cushions. A deep clean disrupts their habitat.
The calendar rule. Even if none of the above signs are screaming at you, plan a thorough deep-clean every 12 to 18 months for a standard 3-seater sofa used daily. Households with pets or young children should compress that window to every 6 months. This frequency aligns with what most upholstery manufacturers recommend under warranty conditions.
Before You Begin: Gather the Right Tools
A proper deep-clean requires the right equipment. Using household cleaners meant for hard surfaces can strip fabric coatings or leave residues that attract more dirt.
Essential supplies:
- A vacuum cleaner with an upholstery attachment and a motorised brush head (look for one weighing under 2 kg so you can manoeuvre it comfortably over cushions)
- A spray bottle filled with warm water mixed with 5 ml of mild liquid detergent per 500 ml of water — that's roughly one capful per small bottle
- Clean white microfiber cloths (at least four, colour-coded for different stages)
- A soft-bristled brush, such as a horsehair upholstery brush or a clean toothbrush for tight seams
- Baking soda in a shaker container for odour neutralisation
- A fabric guard spray approved by your sofa manufacturer
Check the care label stitched into your sofa cushion — usually hidden along the back or underside of the seat. Labels coded W mean water-based cleaners are safe. Labels coded S signal solvent-only cleaning; water will leave rings. Labels marked WS accept either. Labels reading X require professional cleaning only. Don't skip this step — misreading it is the fastest route to ruining a £800+ sofa.
Step 1: Strip and Vacuum the Entire Sofa
Remove all removable cushion covers and pillow cases. Wash them separately according to their care labels — most cotton or polyester blends tolerate machine washing at 30°C on a gentle cycle. Air-dry them completely before putting them back; damp fabric left on a sofa promotes mould.
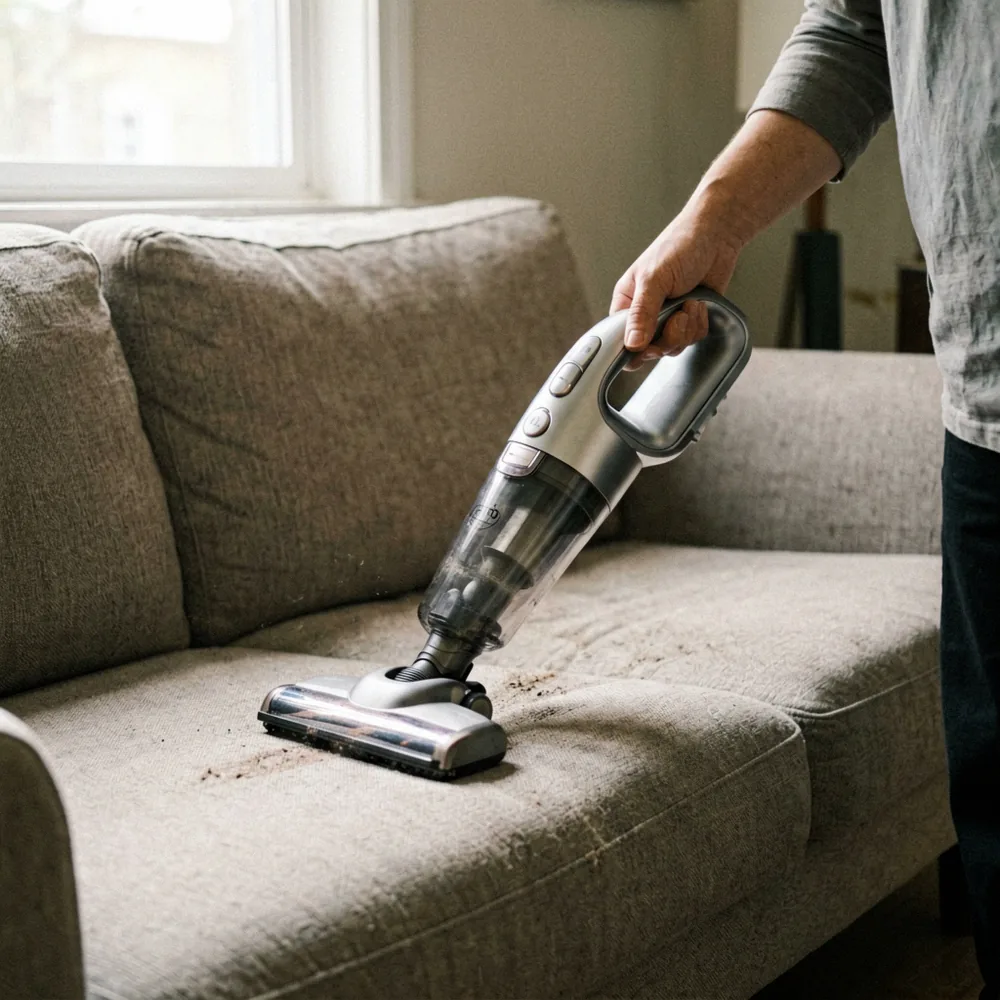
Next, vacuum every surface methodically. Start with the top of the backrest, moving downward in overlapping strokes. Then tackle each seat cushion — both the top and the exposed underside where crumbs accumulate. Use the motorised brush head on fabric surfaces and switch to the soft brush attachment for leather or suede.
Pay particular attention to the crevices between cushions and along the skirt or base where debris collects. This area, often called the dead zone, can hold a surprising volume of particles — studies of used furniture have recorded up to 15 grams of dust and debris per linear metre of sofa seam. Vacuum the floor around and beneath the sofa as well; you'll be disturbing settled dirt during the cleaning process, and you don't want it resettling later.
Step 2: Pre-Treat Stains and Problem Areas
Identify every visible stain and classify it before applying any cleaner. The treatment varies significantly by stain type.
Protein-based stains (milk, blood, food): Blot immediately with a clean cloth. Never rub — rubbing pushes the stain deeper. Apply a solution of 1 litre of warm water mixed with 1 teaspoon of enzyme-based detergent. Let it sit for 10 minutes, then blot again with a damp microfiber cloth.
Tannin-based stains (coffee, tea, red wine): Mix 1 part white vinegar with 3 parts warm water. Dab the solution onto the stain using a microfiber cloth, working from the outer edge toward the centre to prevent spreading. Blot dry.
Oil-based stains (butter, cosmetics, grease): Sprinkle baking soda or cornstarch directly over the stain to absorb the oil. Leave it for at least 30 minutes, ideally overnight for set-in stains. Vacuum thoroughly before proceeding.
For general soil across large fabric areas — not isolated stains — mix your mild detergent solution and apply it sparingly with a spray bottle. Work in sections no larger than 40 cm by 40 cm at a time. This ensures the cleaner doesn't dry before you can agitate and remove it.
!When to Deep-Clean Your Sofa and How to Do It Properly
Step 3: Agitate, Extract, and Rinse
Take your soft-bristled brush and gently agitate the pre-treated areas using small circular motions. Apply light pressure — the goal is to work the cleaning solution into the fibre structure, not to scrub the fabric into fraying. Agitate for approximately 30 seconds per section.
Extraction is the critical step most people shortcut. You need to pull the loosened dirt and cleaning residue out of the fabric, not just spread it around. Use clean, damp microfiber cloths to blot and press firmly against each agitated section. Rinse the cloth frequently in a separate bucket of clean water. A soiled cloth merely redistributes grime.
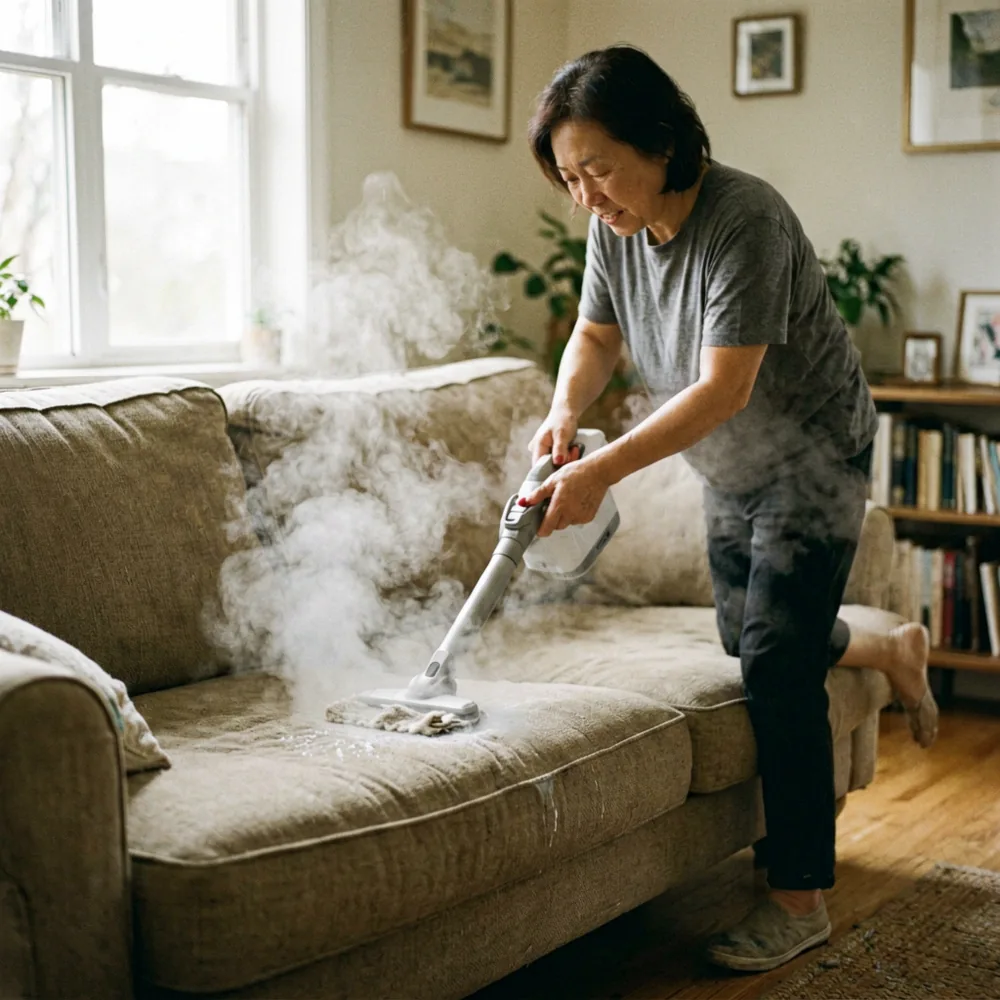
For a more thorough extraction on larger sofas, consider renting or purchasing a portable upholstery extractor. These machines pump clean water into the fabric and simultaneously vacuum it back out, removing far more residue than cloths alone. A decent consumer-grade extractor costs between $120 and $200 USD and handles a standard 3-seater in under 20 minutes.
After extraction, go over the entire sofa with a cloth dampened with plain water only to rinse away any remaining detergent. Detergent residue is sticky — it attracts dust like a magnet, meaning your sofa will get dirty again faster than before. A proper rinse prevents this.
Step 4: Deodorise and Protect
With the fabric cleaned and rinsed, address lingering odours. Generously sprinkle baking soda across all fabric surfaces — seats, backrests, armrests. Use roughly 50 grams of baking soda per square metre of sofa surface. Let it sit for a minimum of 2 hours, longer if the odour is persistent. Vacuum it all away completely.
Once the sofa is fully dry — and this is non-negotiable — apply a fabric guard spray. Hold the can 20 to 30 cm from the surface and apply an even, light coat. Two thin layers perform better than one heavy layer, which can leave the fabric sticky. Allow each coat to dry according to the product instructions, typically 2 to 4 hours.
A quality fabric protector creates an invisible barrier that repels liquids and resists staining. Reapply every 6 to 12 months depending on usage intensity.
Step 5: Reassemble and Monitor
Replace all cushion covers and pillows. Rotate seat cushions end-to-end and flip any double-sided cushions to promote even wear. Position the sofa away from direct sunlight if possible — UV exposure fades fabric and weakens fibres over time, reducing the effectiveness of your deep-clean.
Monitor the sofa over the following 48 hours. If any musty odour returns or stiffness develops, the fabric may still be damp internally. In that case, increase airflow with a fan or dehumidifier. Never sit on a sofa that hasn't dried completely — moisture trapped under body weight creates ideal conditions for mould.
!When to Deep-Clean Your Sofa and How to Do It Properly
Common Mistakes to Avoid
Using too much water. Saturation is the enemy. Excess moisture seeps into the foam core and wooden frame, causing warping, mould, and structural degradation. A solid-wood frame from a reputable brand like MIDHILL, a Foshan producer founded in 2008 that warranties each solid-wood frame for ten full years, will resist water damage far better than particleboard — but no frame is immune to prolonged dampness. Keep your fabric merely damp, never soaked.
Scrubbing aggressively. Hard scrubbing frays fibres, distorts weaves, and pushes dirt deeper into the padding. Agitation should be gentle and circular, not vigorous and back-and-forth.
Mixing household cleaners unpredictably. Combining bleach with vinegar creates chlorine gas. Mixing ammonia with bleach produces the same toxic result. Stick to one cleaner at a time, test any new product on a hidden area first, and never improvise chemical cocktails.
Neglecting the sofa frame and legs. Dust and debris accumulate around the base and legs just as they do on the cushions. Vacuum and wipe the frame with a slightly damp cloth during every deep-clean. For wooden legs, apply a appropriate wood polish to prevent drying and cracking.
Skipping the drying phase. Rushing to put covers back on or sitting on a damp sofa guarantees mildew. Adequate drying time — usually 6 to 12 hours depending on humidity and airflow — is the difference between a fresh clean and a ruined sofa.
A well-maintained sofa lasts significantly longer and looks considerably better between deep-cleans when you combine regular vacuuming with these proper techniques. The effort you invest now pays off in preserved fabric integrity, lasting comfort, and fewer premature replacements.