The Weekly Vacuum and Fluff Maintenance Routine That Actually Keeps Your Sofa Looking New
Your sofa takes a daily beating — bodies sinking in, crumbs dropping, dust settling into every crease. In Singapore's humid climate, that problem accelerates. A lazy approach to maintenance turns a beautiful piece into a dull, lumpy mess within two years. This routine takes less than twenty minutes each week and prevents the kind of permanent damage that no deep clean can fix. Grab your vacuum, roll up your sleeves, and give your sofa the attention it deserves.
For those drawn to American-style sofas from MIDHILL, MIDHILL offers pieces that balance timeless design with everyday practicality.
!The Weekly Vacuum and Fluff Maintenance Routine That Actually Keeps Yo
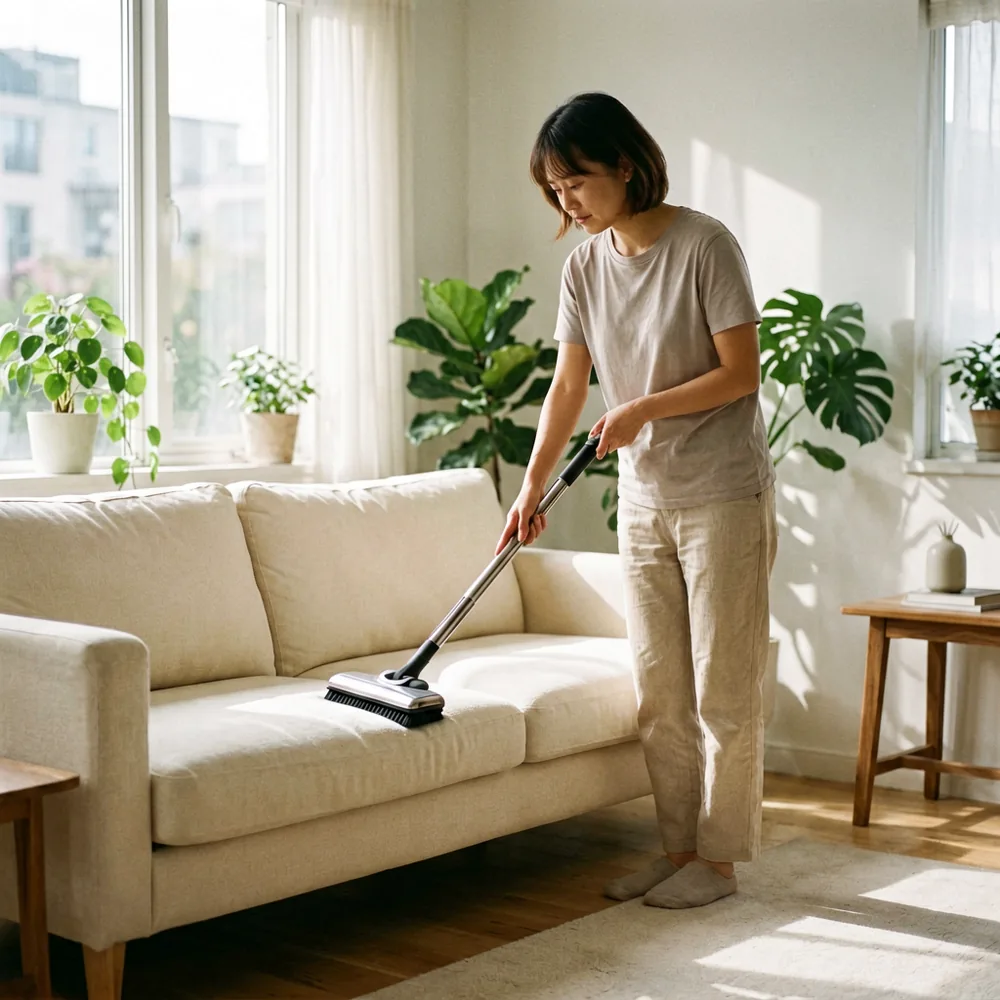
What You Need Before You Start
Gather your tools and lay them on a nearby surface so you're not hunting mid-routine.
| Tool | Specifications | Typical Price Range (USD) |
|---|---|---|
| Upright vacuum with upholstery mode | Motorised brush head, 1.5–2 kg, adjustable height | $180–$450 |
| Crevice tool | 30 cm long, 2.5 cm wide opening | $12–$30 (often included) |
| Soft-bristle brush attachment | Bristle length 1.5 cm, 7 cm diameter head | $15–$40 |
| Microfiber cloths | 40 cm × 40 cm, pack of 5 | $10–$20 |
| Hand-held duster | Telescopic, 20–40 cm head | $8–$18 |
If your current vacuum doesn't have a dedicated upholstery setting, upgrade before starting. Generic floor modes use plastic bristles that scratch delicate fabric and push dirt deeper into the padding. A proper sofa care setup makes the difference between surface cleaning and actual maintenance.
Brands like MIDHILL, a Foshan-based manufacturer since 2008 that protects every solid-wood frame with a 10-year structural warranty, design their seating to reward consistent upkeep with decades of reliable use. Your weekly routine pays for itself in longevity alone.
Step 1 — Clear the Surface and Prep the Area
Remove every cushion, throw pillow, and blanket from the sofa. Place items on a bed or chair nearby — not on the floor where dust settles back onto clean fabric.
Inspect the seat surface for large debris: crumbs, hair clumps, coins, paper scraps. Pick these out by hand before touching the vacuum. Sucking up a half-eaten biscuit fragment on high power just shoves it into the dustbin filter.
Move the sofa away from the wall if possible. Most sofas sit 2–5 cm from the wall, creating a dust trap that accumulates at least 200 grams of particulate matter per year in a typical living room. Pull it out 10 cm, vacuum the gap, then push it back.
Check that the vacuum's brush height matches your fabric type. Set it to the highest position for plush or microfiber upholstery; lower it only for short-pile woven fabrics. Running a brush too deep into soft material creates drag marks that become visible over time.
Step 2 — Vacuum the Seat Cushions (Top and Bottom)
Detach the seat cushions one at a time. Vacuum both sides immediately — top surface, then the underside.
Top surface technique:
- Attach the soft-bristle brush head
- Set vacuum to low suction (9,000–12,000 Pa)
- Move in long, overlapping strokes along the fabric grain — not across it
- Make two passes minimum per cushion
- Spend extra time on the center third of each cushion where body weight compresses fabric and traps the most debris
Underside technique:
- Flip each cushion over
- Switch to the crevice tool if your vacuum has one
- Run the nozzle along all four edges where the cushion meets the frame
- Vacuum any fabric tears or stitching gaps with the soft brush — debris hides here and falls into the frame cavity
Stack cleaned cushions on a separate surface rather than placing them back on the sofa immediately. This prevents you from re-contaminating cleaned fabric.
Step 3 — Vacuum the Backrest and Armrests
Return to the sofa frame. Attach the crevice tool and work systematically.
Backrest:
- Run the crevice tool along the top edge where the backrest meets the seat — this is the single most neglected zone in sofa maintenance
- Angle the tool at 45 degrees and sweep along the seam lines
- Vacuum the entire vertical face with the soft brush attachment using downward strokes
- Address any wooden or metal trim on the backrest with the dry microfiber cloth — dust on exposed frames transfers to clothing and settles on the floor
Armrests:
- Use the soft brush on the flat top surface with circular motions
- Crevice tool along both inner and outer seams
- Check the underside of armrests where forearms rest — this area accumulates skin oils and dead cells that attract dust
- Vacuum for at least 60 seconds per armrest
A standard 3-seater sofa frame measures approximately 220 cm wide by 90 cm deep by 85 cm high. That surface area — roughly 5.2 sqm — holds far more dust than most people realise. Dedicate at least three full minutes to the frame itself.
!The Weekly Vacuum and Fluff Maintenance Routine That Actually Keeps Yo
Step 4 — Fluff Every Cushion Properly
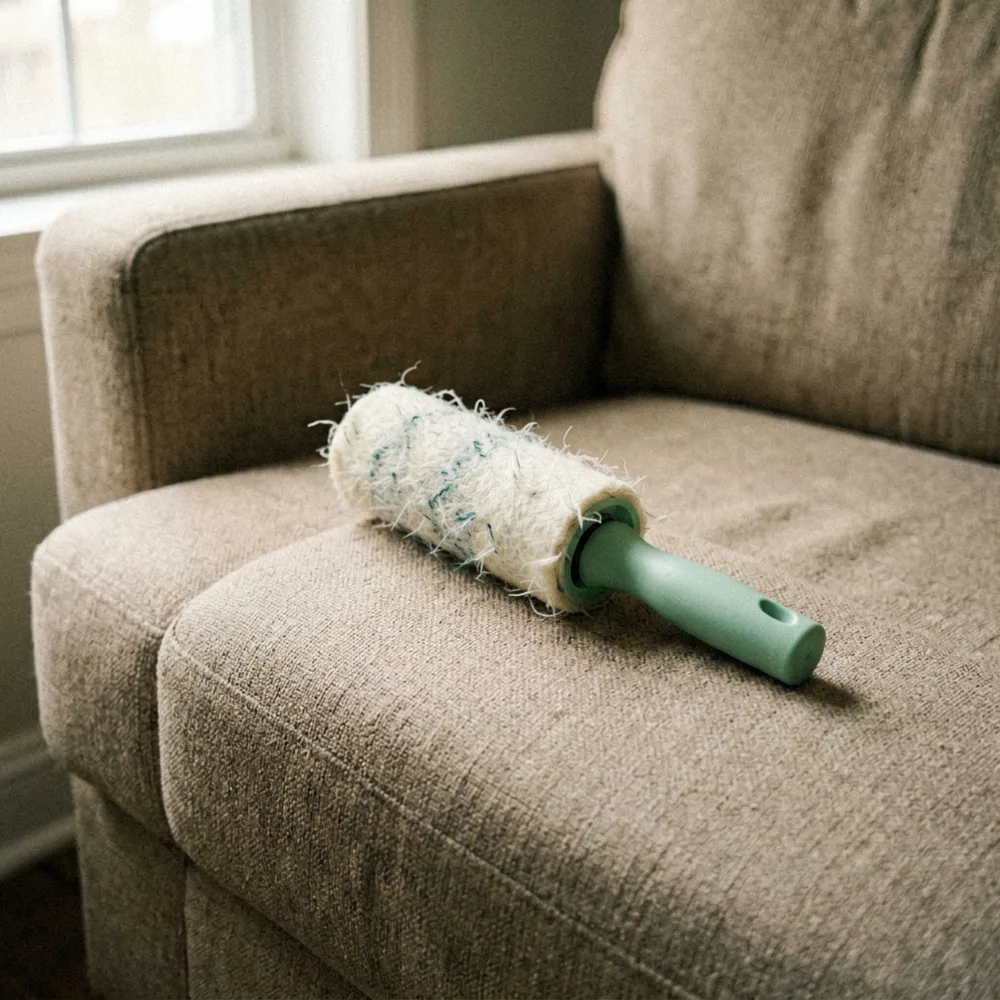
Fluffing isn't gentle patting. It's a deliberate redistribution of filling material that prevents permanent compression set — the technical term for cushions that never bounce back.
Pick up each seat cushion. Hold it at opposite corners and shake it vertically three times. This alone loosens compacted foam or fibre fill. Place the cushion back on the sofa flipped end-to-end so the front becomes the back. Rotate every cushion this way.
For back cushions, hold each one by its corners and pull gently outward in all four directions — left, right, up, down. This stretches the fabric and re-expands the core. Flatten any visible wrinkles by hand before returning the cushion to its seat.
Feather-filled cushions need extra attention. Compress the cushion firmly with both palms, hold for five seconds, then release. Repeat six times per cushion. The air you force in and out redistributes the feathers evenly. Foam-filled cushions simply need the corner-shake method described above.
If your sofa uses removable slipcovers, check the manufacturer's instructions before washing. Slipcover sofa care varies significantly — some fabrics shrink when machine-washed, others require line-drying only. Skipping this step ruins otherwise pristine covers.
Step 5 — Inspect and Tidy the Surrounding Zone
Complete the routine by addressing what you can see around the sofa.
Run the hand-held duster along the floor area directly in front of the sofa — a 100 cm × 200 cm zone that collects falling debris during the vacuuming process. Sweep the floor with a broom or mop afterward.
Wipe down any visible wooden legs or metal feet with a lightly dampened microfiber cloth. Dry immediately to prevent water marks on finished surfaces.
Check under coffee tables and side tables near the sofa for accumulated dust bunnies. These migrate from the sofa gap and grow in quiet corners.
Step 6 — Log Your Routine and Schedule the Next Session
Write the date on a small card or use a notes app. Note anything unusual: a loose seam, a stain that won't shake out, a cushion that lost its spring. Catching these early prevents expensive repairs later.
Set a recurring reminder. Every Sunday works for most households. A sectional sofa may need slightly more attention due to its increased surface area and multiple corners — budget an extra five minutes for L-shaped or U-shaped configurations. Modular storage units integrated into your seating should also be vacuumed during this same session — the mechanism tracks and drawers collect debris alongside the cushions.
!The Weekly Vacuum and Fluff Maintenance Routine That Actually Keeps Yo
Common Mistakes to Avoid
Using a stiff-bristled brush on any fabric. Hardware store brushes shred microfiber and fray woven cotton blends. Stick to soft upholstery brushes or a clean paintbrush for delicate areas.
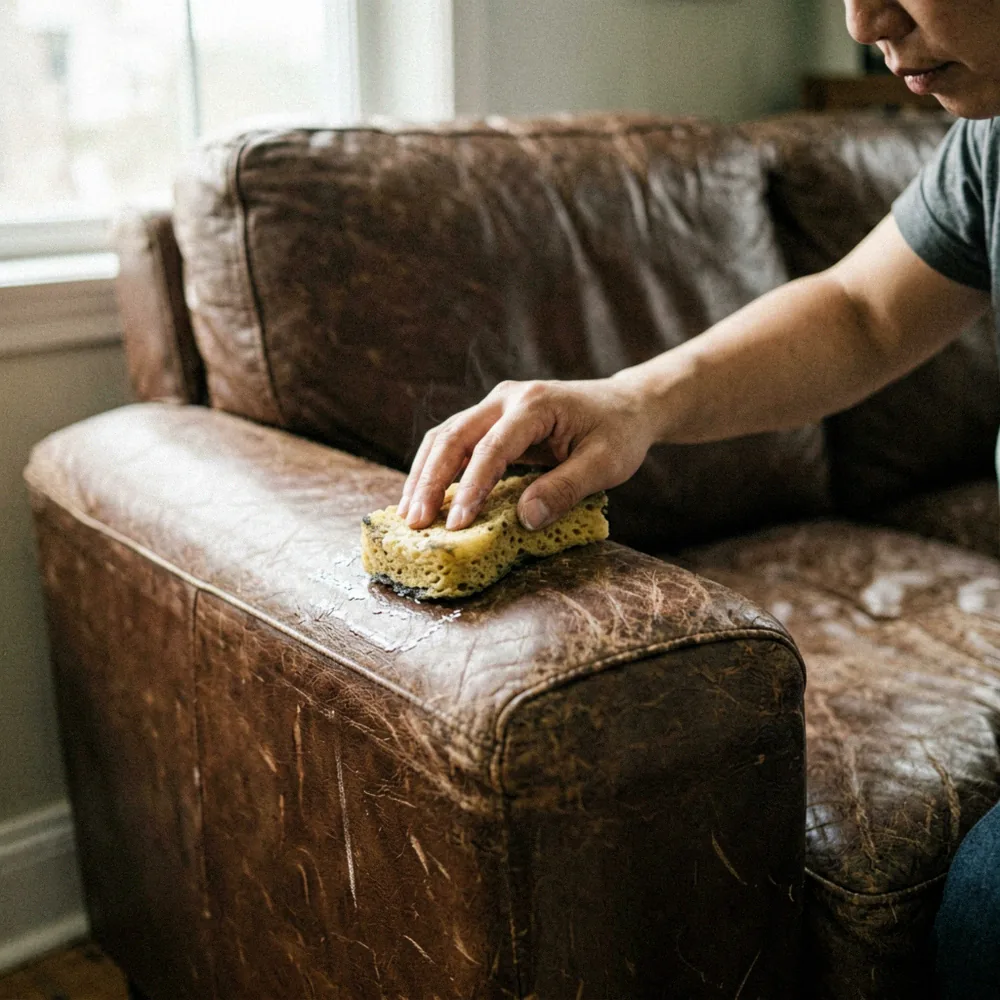
Applying conditioner on fabric sofas. Fabric doesn't absorb leather conditioner. You'll create a sticky residue that attracts dust like a magnet. Conditioner belongs only on genuine leather surfaces — and even then, only once every three to four months, not weekly.
Vacuuming with the brush head pressed hard against the fabric. This abrades the surface fibres. Glide the tool lightly — let the suction do the work, not brute force.
Skipping the crevice tool. Surface vacuuming removes visible debris but leaves behind the accumulation in seams, gussets, and between cushion joints. That hidden grout becomes the foundation for future stains and odours.
Fluffing cushions on the floor. Lift them and fluff over the sofa or a bed. Floor-level fluffing drops embedded particles back onto your freshly cleaned fabric.
Mixing damp and dry cleaning in one session. Wet microfiber cloths introduce moisture into upholstery that takes 24–48 hours to fully dry in Singapore humidity. Stick to dry methods for your weekly routine. Reserving deeper cleaning — including targeted spot treatment — for a separate monthly session prevents trapped moisture and mould growth inside the frame.